How to install DESSO carpets?
The greatest possible care has been given to manufacturing DESSO carpets, offering high-quality commercial flooring, hospitality flooring, and floor coverings for various other sectors. However, our products only really come to life in the interior. It is therefore of great importance that the relevant installation instructions are followed very carefully. Only then can you be assured of an optimum result.
The instructions and recommendations concerning the handling and fitting of DESSO carpets are based on extensive tests carried out in our laboratory and years of practical experience in floor covering solutions. Although Tarkett guarantees the accuracy of our advice, no responsibility whatsoever can be taken for work, instructions and/or descriptions supplied by any third party. Should you have any questions in that respect the Technical Services Department at Tarkett would be pleased to assist you.
DESSO Carpets Installation Instructions
Carpet Tiles and Planks
Download below the step-by-step guide to install DESSSO carpet tiles and carpet planks for your creative interior design and commercial flooring projects.
SoundMaster
Download below the step-by-step guide to install DESSSO tiles with SoundMaster acoustic backing for improved impact sound reduction and enhanced floor covering performance.
Broadloom Carpets
Download below the step-by-step guide to install DESSSO broadloom carpets for seamless wall-to-wall applications in commercial and hospitality environments.
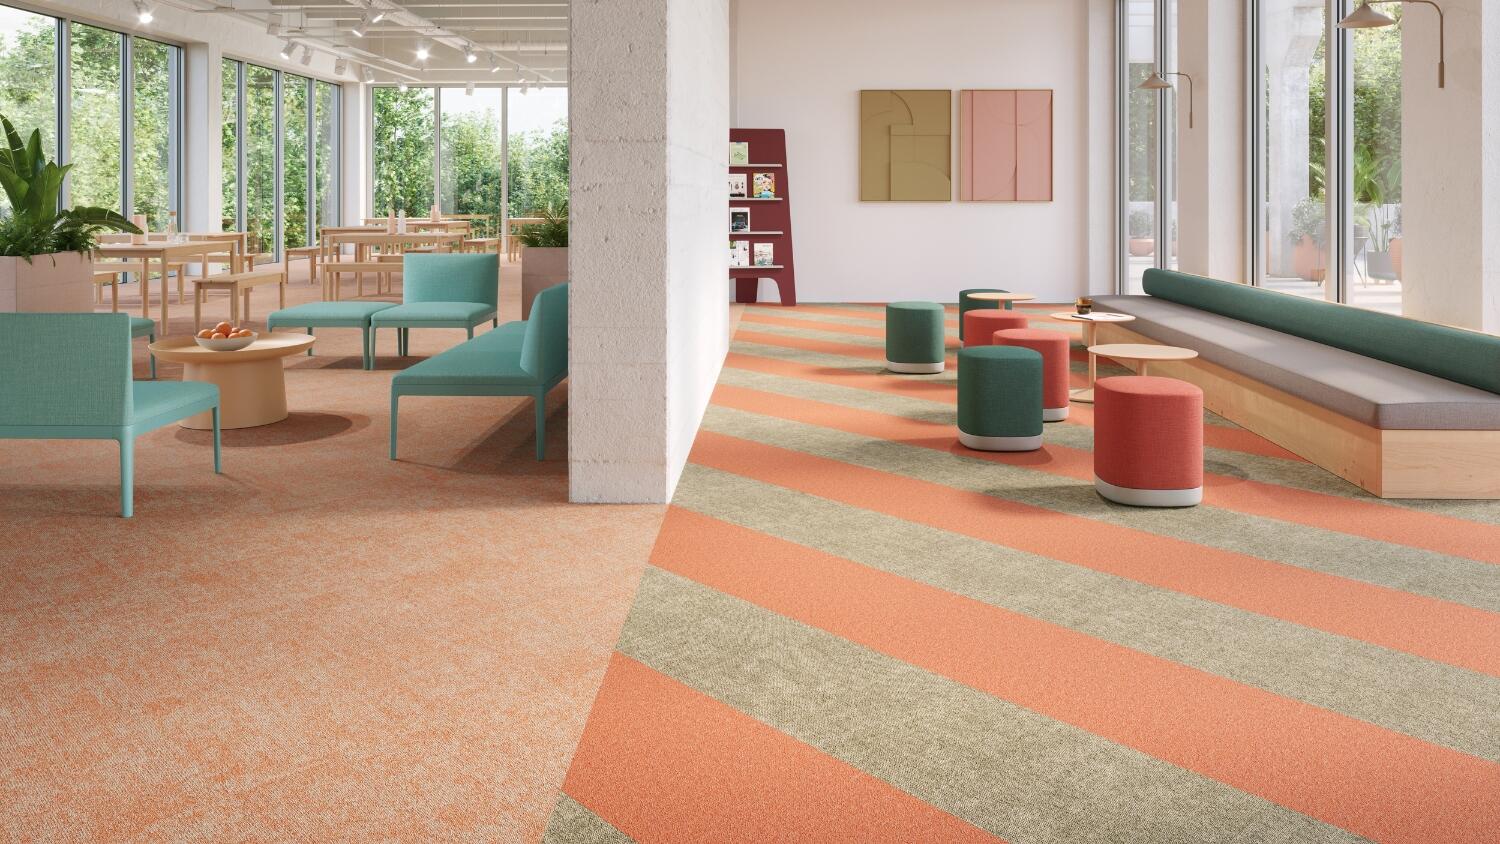
Fuse Landscape, Create
Download below the step-by-step guide to install DESSSO Fuse Landscape and Create carpets with fluid colour transitions for flexible, multifunctional and nature-inspired interior spaces.
Traverse
Download below the step-by-step guide to install DESSSO Traverse carpet planks featuring directional diagonal lines for dynamic patterns like herringbone, ashlar, and beyond.
How to install DESSO SoundMaster
Installation Direction Carpet Tiles
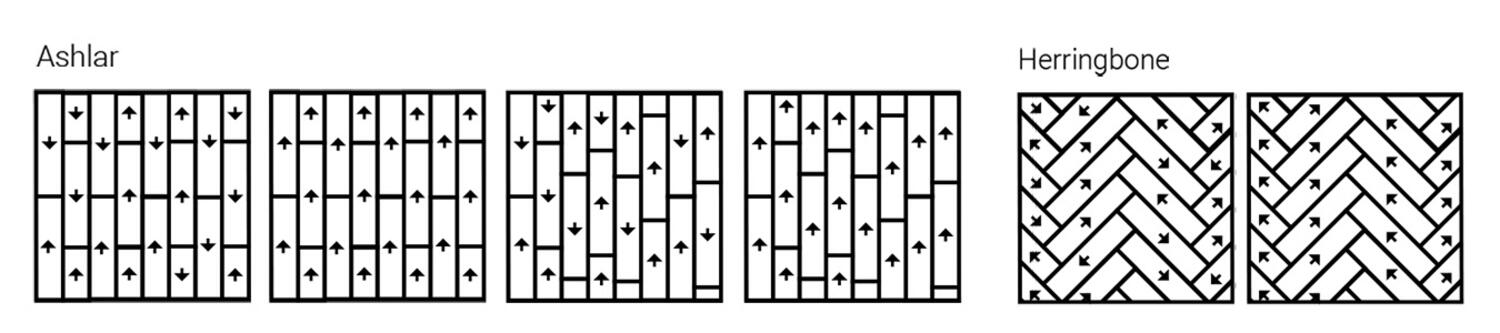
Carpet tiles can be installed Monolithic, Brick, Ashlar, Quarterturn or Random. For each carpet tile quality, the preferred installation method has been determined. The prescribed installation method is indicated on the technical specification and on the boxes. Only install carpet tiles according to the required installation method.

Installation Direction Carpet Planks
Planks can be installed Ashlar: with regular or irregular seams, header joints should be at least 10 cms apart on each row, or Herringbone.
General Considerations
Initial Inspection
Make sure that the quantity, quality, colour, and other specifications correspond exactly with your order. All products should be carefully inspected for damage or defects prior to installation to maintain expected performance.
Preparation & Acclimatisation
To ensure the best results, carpets must be acclimatised in the environment where they will be installed, under the following conditions:
- Acclimatisation Period: Allow all products to acclimatise for at least 48 hours before installation.
- Environmental Conditions: Maintain a temperature between 15°C and 30°C, with relative humidity between 40% and 60%—before, during, and after installation.
- Packaging: If unpacking is not possible, open the sides of the cartons to allow air circulation and stack them to a maximum of 10 boxes high.
- Underfloor Heating: DESSO carpets can be installed over underfloor heating, provided the surface temperature does not exceed 27°C. The heating should be reduced at least 48 hours prior to installation. After installation, gradually increase the temperature over 48 hours, without exceeding 27°C.
Conditions and Requirements
DESSO carpets should be installed directly onto the floor and the use of an underlay is not permitted. Existing floor coverings, such as PVC, Linoleum or underlay must be completely removed from the subfloor prior to installation.
Carpets can be installed on any floor that is level, smooth, dry, pressure-resistant, clean and protected from damp. All remnants must be removed as should any adhesive, dust grease or polish. Any holes or indentations, joints, cracks or uneven floor areas should be levelled with a good floor filler or levelling compound. Follow the instructions of the installation manuals to ensure easy installation and long-term durability of your floor covering.
After Installation
It is not unusual for some visibility of joints to appear after installation. Newly installed carpets require a period of acclimatisation—typically 6-8 weeks—under correct conditions depending on usage and maintenance regime.
- Pile pressure during storage may cause slight flattening of some tiles, resulting in a temporary variation in colour tone. This usually recovers quickly with proper acclimatisation.
- The acclimatisation process can be accelerated by lightly moisturising the tiles with a spray of water. After drying, brush vacuum using a carpet vacuum cleaner.
- After installation, always protect the new carpet tiles with a protective film (carpet cover)* or thick paper for temporary carpet protection during the construction period.
* A carpet cover is a super-strong, protective film for the temporary protection of carpet.
Related Content
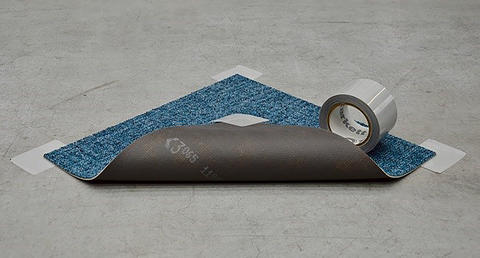
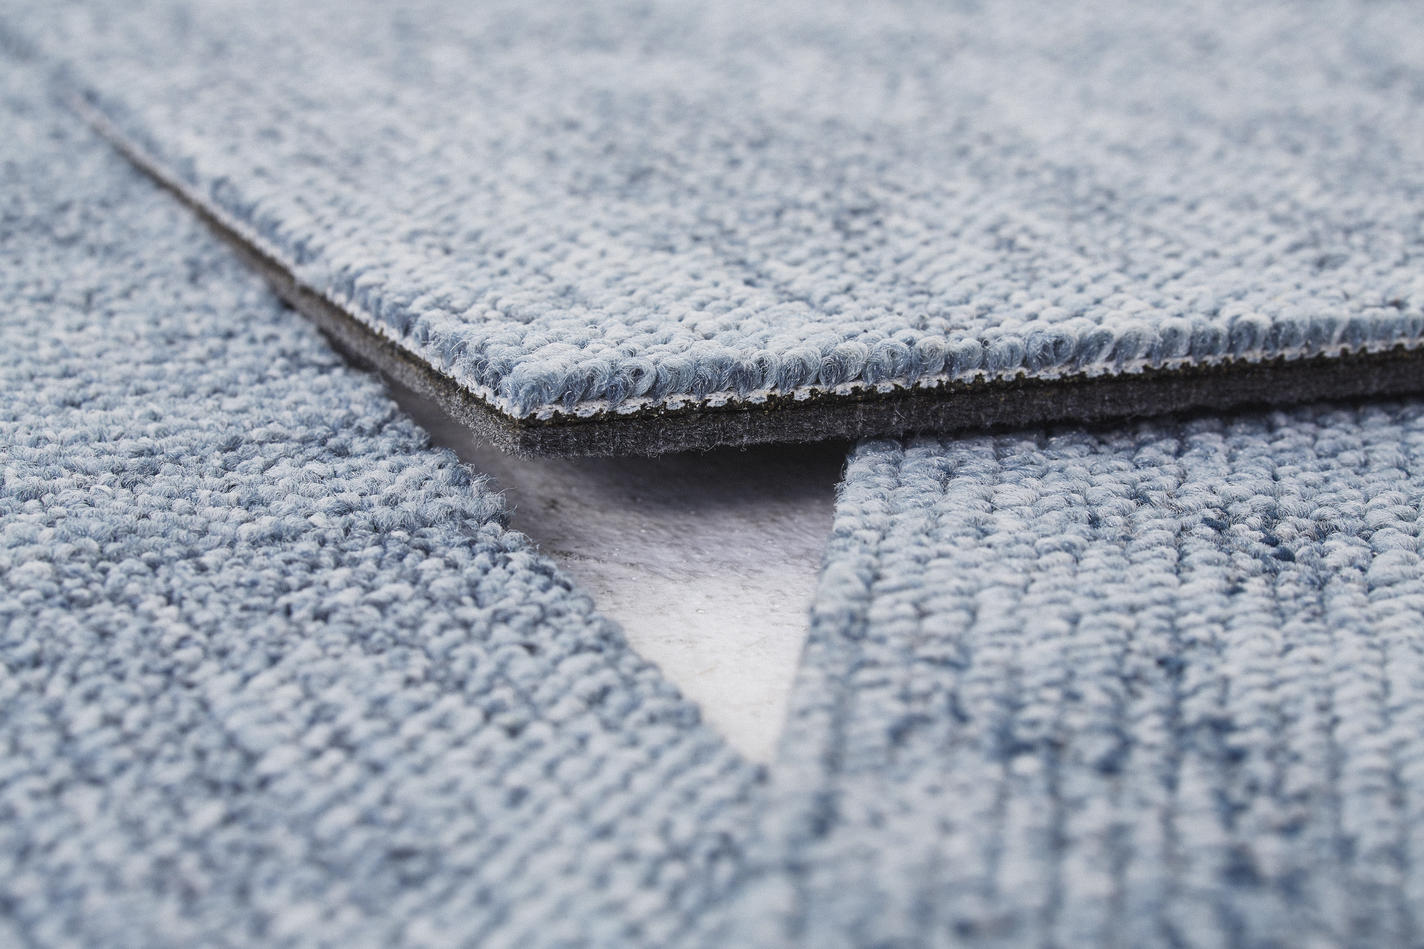
TarkettTAPE™ changes the standard in carpet tile installation by offering maximum flexibility and adhesive qualities without using any glue on the subfloor.
Reduce noise in the office with the DESSO SoundMaster acoustic carpet underlay that achieve an improvement in impact sound insulation and sound absorption.

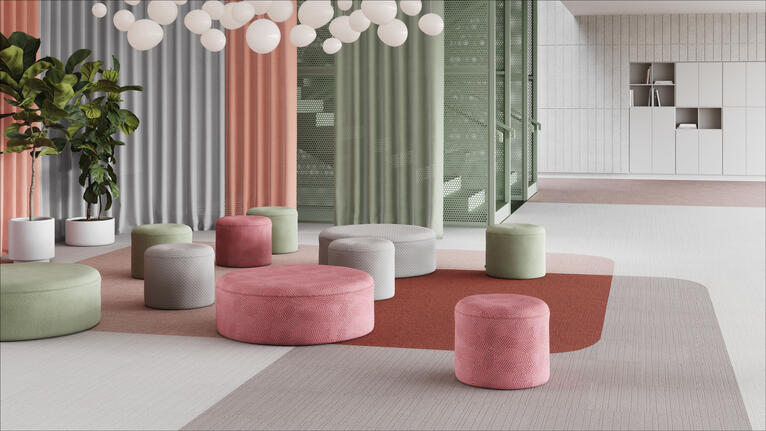
Discover Tarkett's flooring solutions for workplaces. Tarkett offers sustainable, multifunctional flooring solutions that foster comfort, creativity, and wellbeing for offices.
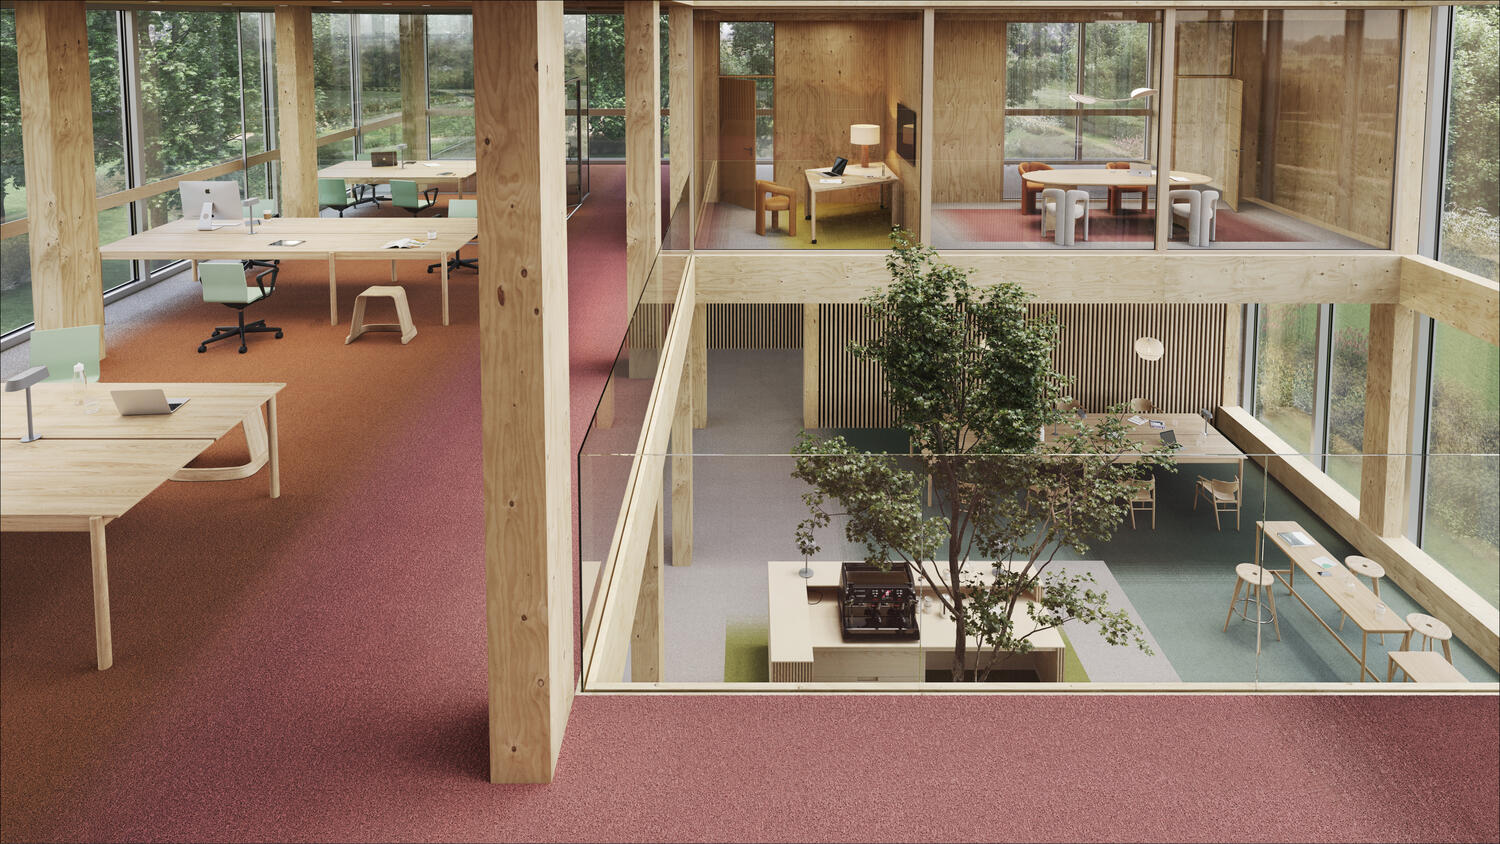
Tarkett helps you create healthy and comfortable workplaces with Tarkett flooring solutions
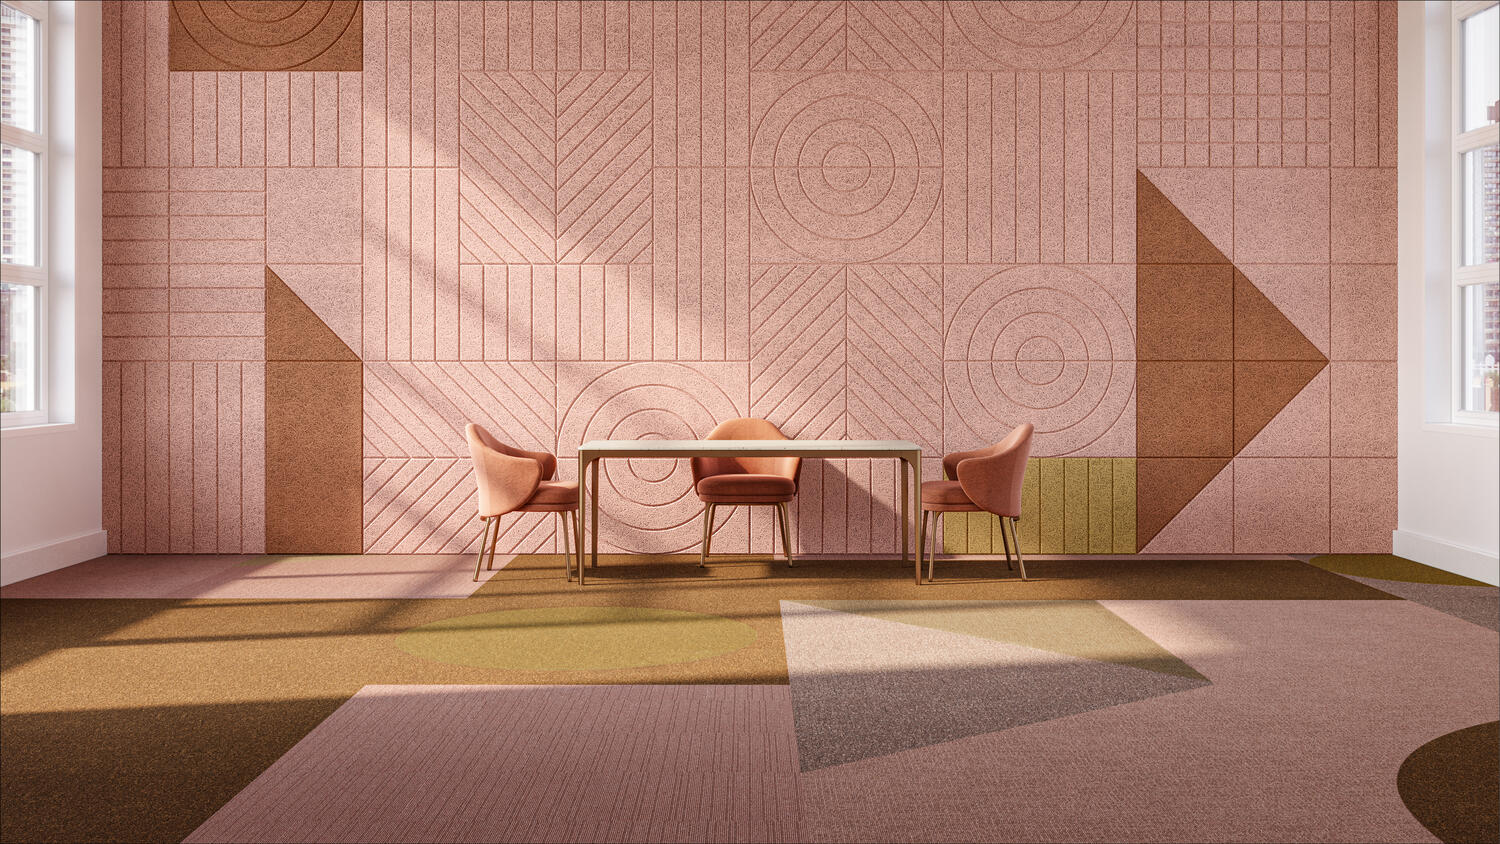
Unlock the limitless potential of DESSO Essence Elements Collection, featuring three desigs: Pure, Roots, and Traces, for graphic color blocking or subtle patterns in confident interiors.
Discover Tarkett's new collaboration with BAUX Acoustics. Here, these two companies unite in a harmonised colour palette for healthier indoor spaces, where floor and walls play well together.